Microgreens - how to grow crops, benefits and harms (8 photos)
Microgreens, or as they're now fashionably called, microgreens, are a trendy product these days. Importantly, they're incredibly nutritious—green sprouts contain far more vitamins and micronutrients than mature plants and ripe vegetables. It's also worth noting that you can grow microgreens yourself, year-round, without depending on market prices for agricultural produce. 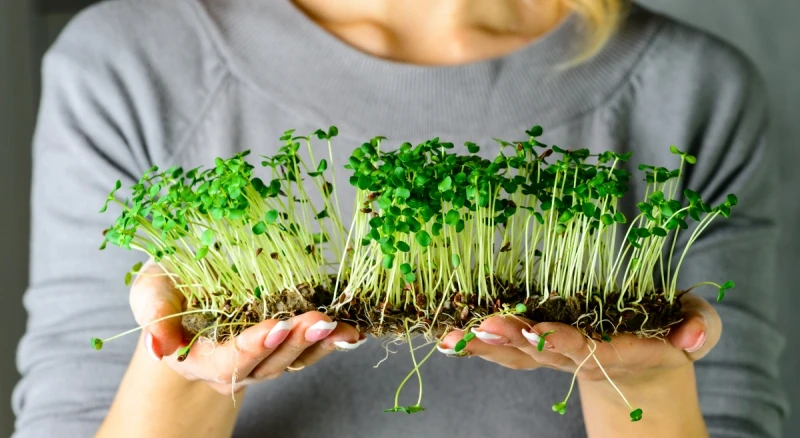
Beneficial Properties of Microgreens
Many believe that microgreens are the product of the future. They can be obtained from virtually any edible plant. Among the advantages of microgreens, it's especially worth noting that they grow isolated from the environment, making them environmentally friendly. 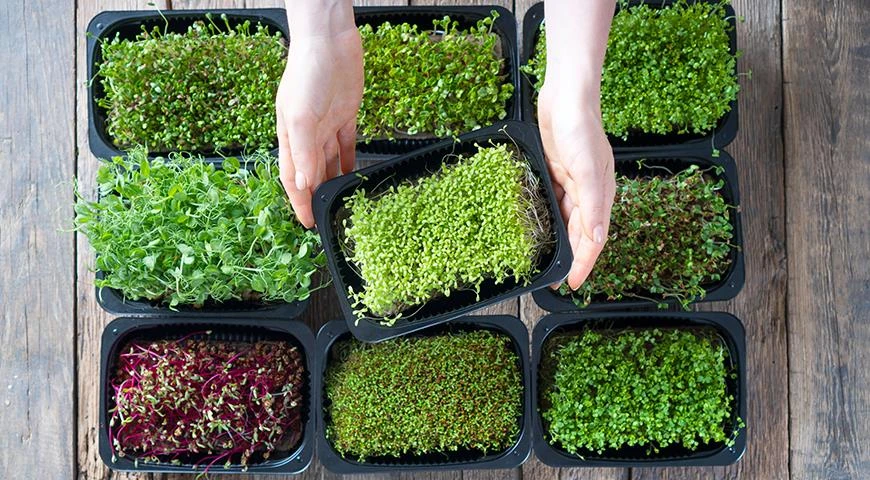
During the first 10 days of a plant's life, it doesn't have time to accumulate toxic substances inevitably found in water and the atmosphere. At the same time, science has proven that sprouts contain 100 times more nutrients than raw vegetables grown in the field or greenhouse.
Beta-carotene, vitamins B, C, K, and E, potassium, calcium, phosphorus, sulfur, magnesium, iron, and iodine—these greens contain everything the human body needs to maintain health and well-being. Regular consumption of microgreens is known to prevent blood clots, promote healthy hair, skin, and nails, promote the formation of new blood cells, and generally boost immunity.
What can be grown
Almost all crops are suitable for growing microgreens. These include legumes, vegetables, and grains. The only exception is nightshade plants, such as tomatoes, zucchini, peppers, and potatoes. Sprouting them is not recommended due to their high solanine content. This substance is a plant poison that is harmless in small quantities but can cause intestinal upset. 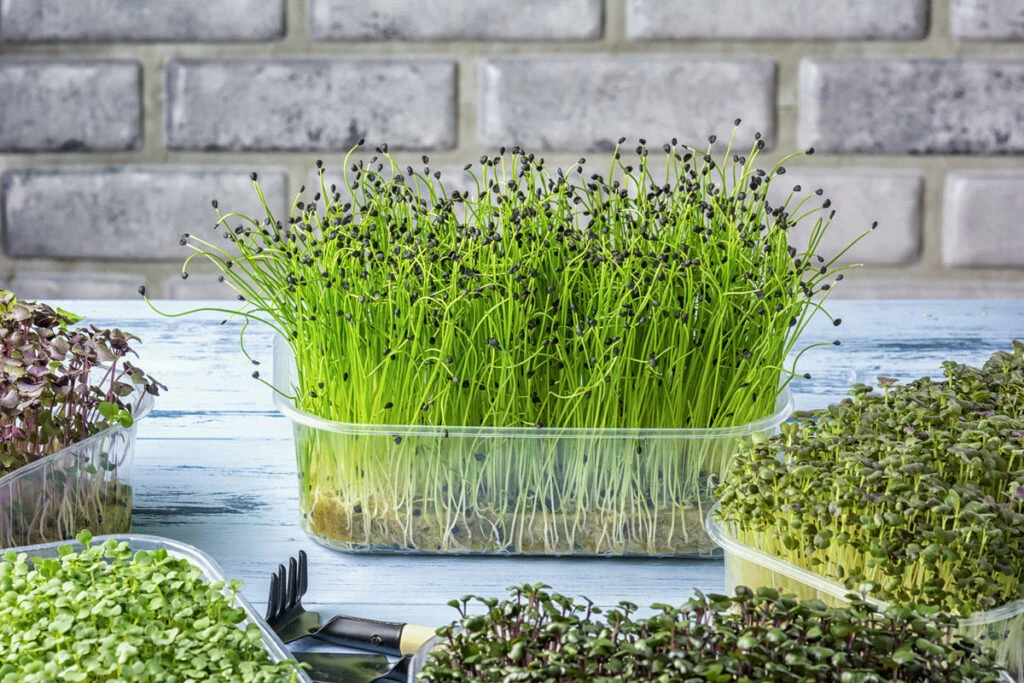
It's also not recommended to experiment with pumpkin. Its microgreens are incredibly rich in nutrients, but unfortunately, they have a major drawback. Pumpkin greens are very bitter and unlikely to be enjoyable to eat. It's also important to remember that only organic seeds can be sprouted. Those sold in gardening stores are not suitable. They are treated with various substances that enhance germination and protect against diseases.
Microgreens from different crops may not differ much in appearance. However, the taste will vary greatly. Sprouts are similar in flavor to ripe fruits, but have a more delicate and rich flavor profile. Sunflower, corn, and peas are sweet, while mustard, onions, and cilantro have a piquant flavor.
Can microgreens be harmful?
Unfortunately, sometimes microgreens are not beneficial. Allergies to certain crops are considered contraindications. Parsley and spinach are considered the most common intolerances. Due to the high amount of essential oils in sprouts, they can cause skin rashes in allergy sufferers. 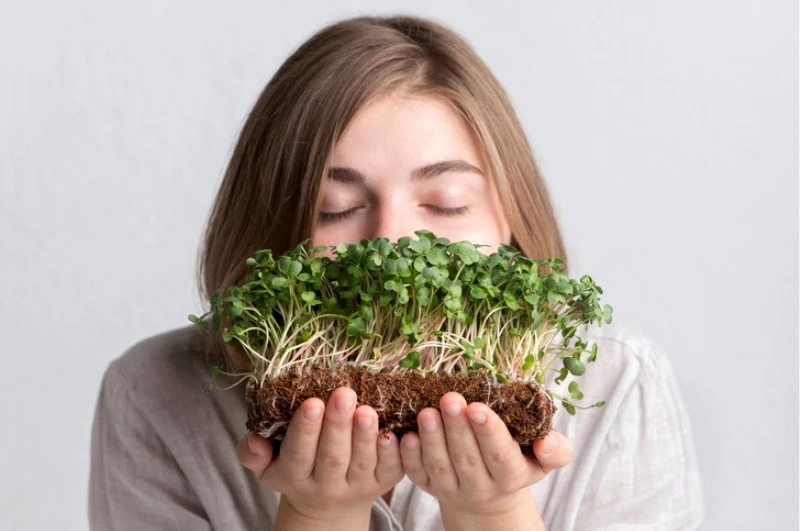
Peas, cabbage, and chickpeas are contraindicated for those with a weak stomach and intestines. They cause bloating. If you have high acidity, it's best to avoid mustard, sorrel, and onions. But fortunately, the choice of microgreens is so vast that everyone can find something to suit their taste and health needs. Of course, if you're unsure of your own microgreens, it's best to consult a doctor or dietitian for recommendations.
How to prepare for planting
Anyone can grow microgreens at home. It doesn't require any agricultural knowledge, specialized equipment, or a large space. First, you need to purchase organic seeds. This can be done at specialized health food stores, which are now available in every city. Many people prefer to stock up on seed from online stores. 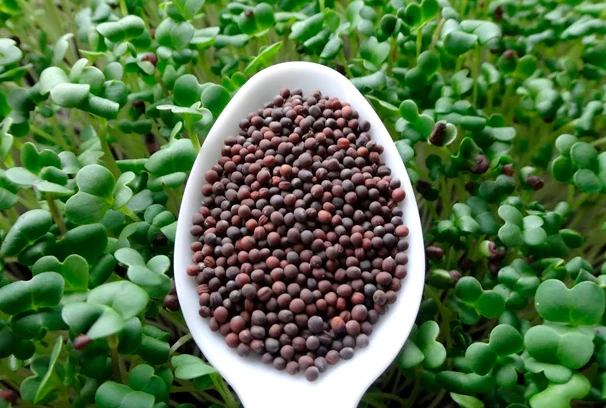
Remember that you can't mix organic seeds with conventional ones. Due to dense planting, even one chemically treated seedling can "infect" the entire crop. Some seeds are soaked in water for several hours before planting. This procedure is not suitable for all crops. Arugula, flax, basil, watercress, and chia do not tolerate "water treatments" well and are best planted immediately.
The area where microgreens are grown should be well-lit for at least 6 hours a day. If natural light is insufficient, consider purchasing a special seedling lamp. In this case, it should be on for at least 12 hours. A windowsill on the sunny side of the house is ideal for a mini-garden. 
Temperature is also important. Many people believe that the warmer the room, the better. But this is not true. Microgreens need temperatures between 18 and 24 degrees Celsius. If it's warmer or colder, the seeds may not germinate.
How to Grow Microgreens at Home
There are many ways to grow microgreens at home. It's much easier than growing lemons or passion fruit at home. Sprouts can be grown on towels, in soil, or in various containers. Specialized sprouting devices are even available at specialty stores. However, many people manage without them, using regular glass jars. 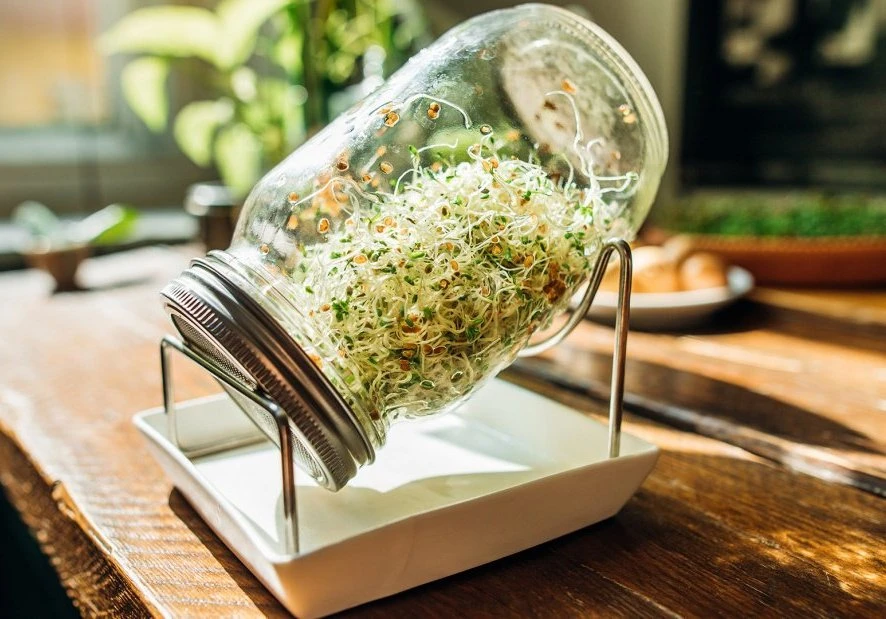
Place the seeds in a container and add a small amount of water. Cover the jar with gauze or cloth, securing it with a rubber band. After this, keep an eye on the seeds to ensure they don't sprout. Then drain the water.
Carefully remove the sprouted seeds, rinse them under running water, and return them to the jar. Place the container at a 30-degree angle to allow excess moisture to drain. Rinse the seeds daily to prevent them from becoming slimy. 10-14 days after the first sprouts appear, you can harvest the microgreens. 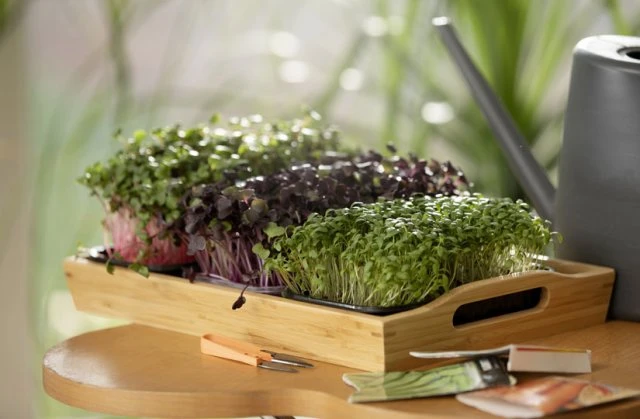
Growing microgreens in soil is even easier. To do this, place the seeds on the ground in a wide, shallow pot. It's important to space them at least 3 mm apart. Sprinkle a thin layer of soil over the seeds and water. This mini-garden should be misted with a spray bottle several times a day. Do this carefully, keeping the soil slightly moist but not soggy.