With your own hands: a table with a compass decoration and a little secret (34 photos + 1 video)
You never know what to give for a wedding. Therefore, the hero of this post, having learned that his flatmates were getting married, he decided to make them handmade gift. Fortunately, they grow from the right place. And made a unique thing, a table with a thousand small compasses, which still manageable. The coolest fit for a wedding! 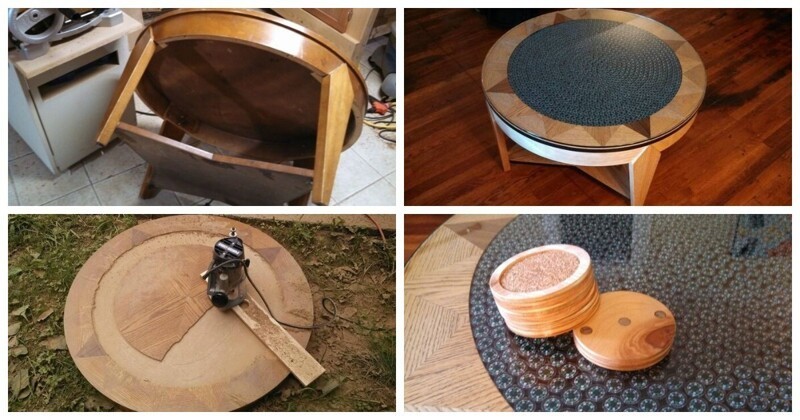
So, the guy found a round table thrown by someone. Old but cute 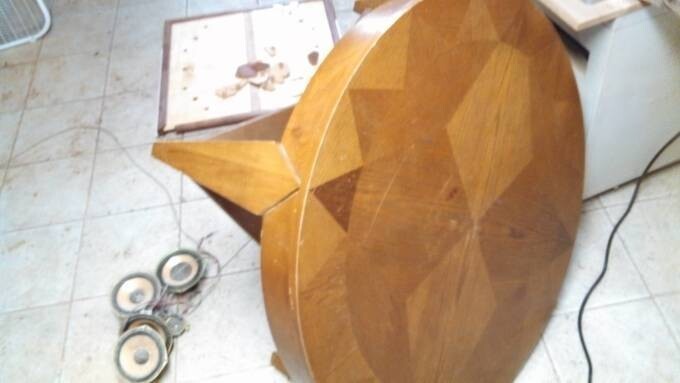
Apparently shabby. Probably seen a lot in his lifetime 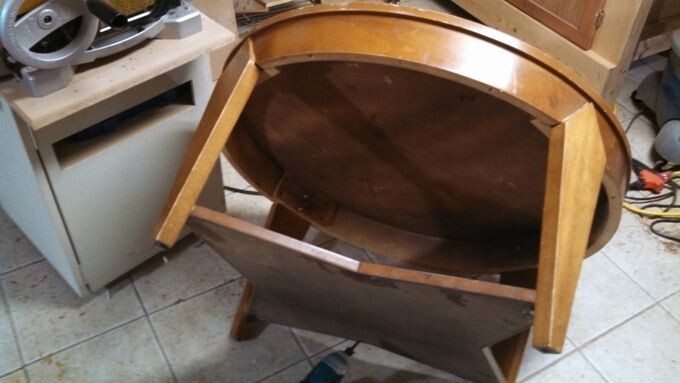
Our hero took a milling cutter and fixed a board in the center of the table so as to use it as a compass. Turned out almost perfect a circle 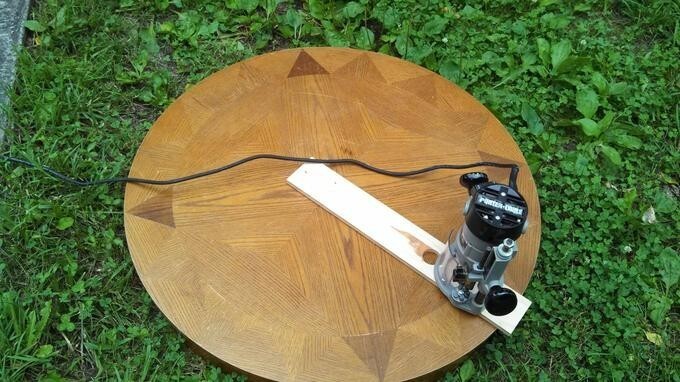
First pass with a router in a circle 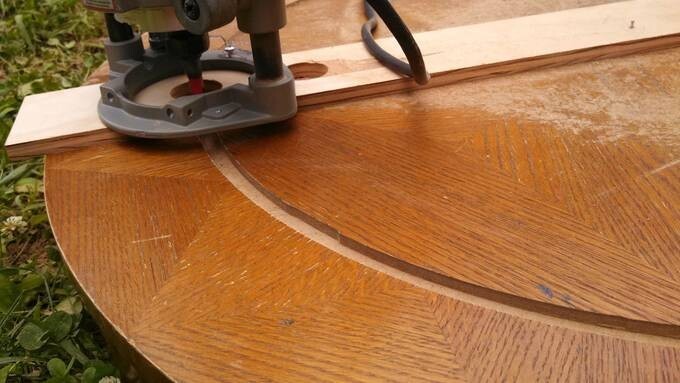
Next is an important point: trying on mini-compasses, they should fit tightly to each other. I had to expand the circle a few millimeters, but all subsequent inner rings no longer do this demanded, everything fit perfectly 
Next, you just had to cut out the entire inner part of this circle. 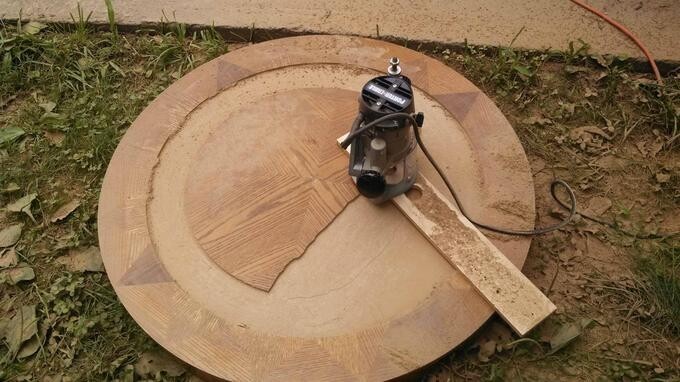
Like this 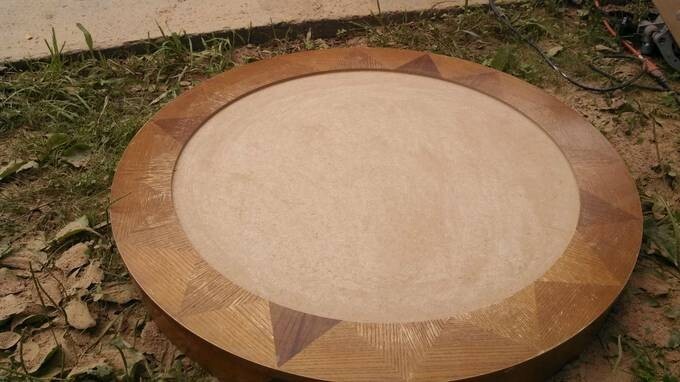
Basic example. All the compasses were placed in a circle and fit perfectly together. There are over a thousand 
The master sanded the remaining wooden part of the countertop and added a layer of protective coating 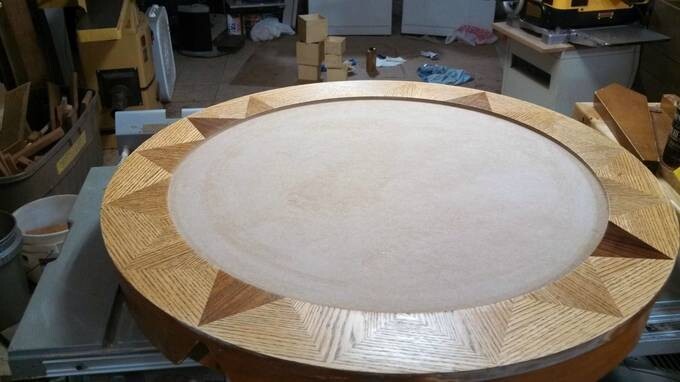
Then he also "healed" the legs of the table 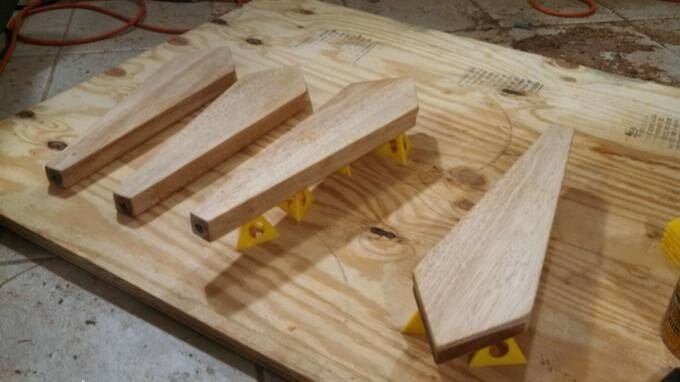
The inner surface also needed to be sanded and painted. 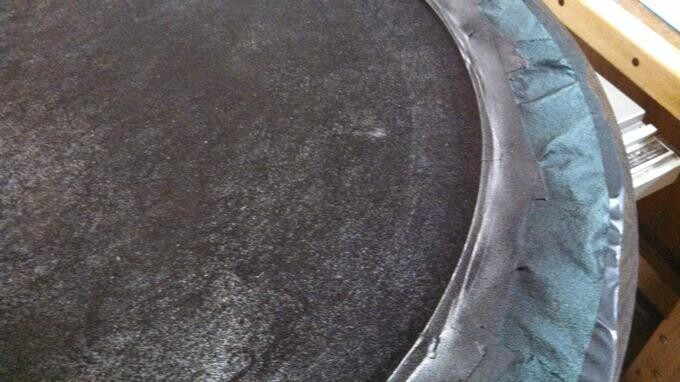
Sanding and spray painting the outer edge of the table was also essential for aesthetics. 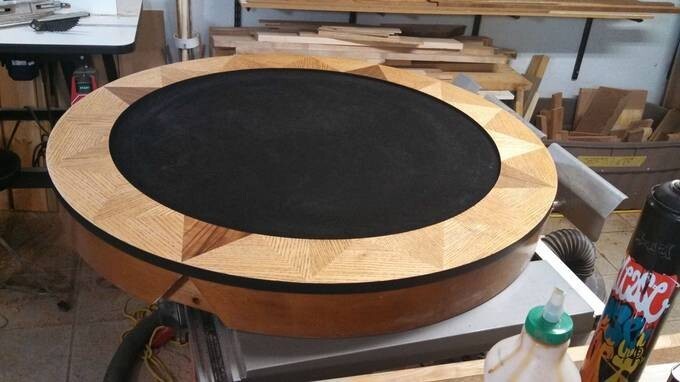
The bottom of the table needed a good sanding. Now she looks much better 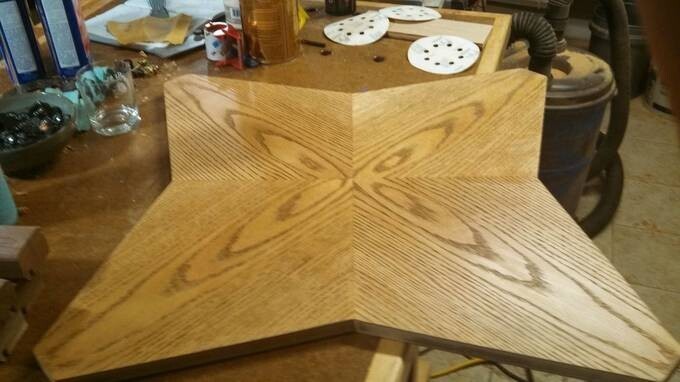
And the side of the tabletop has also been brought to life. 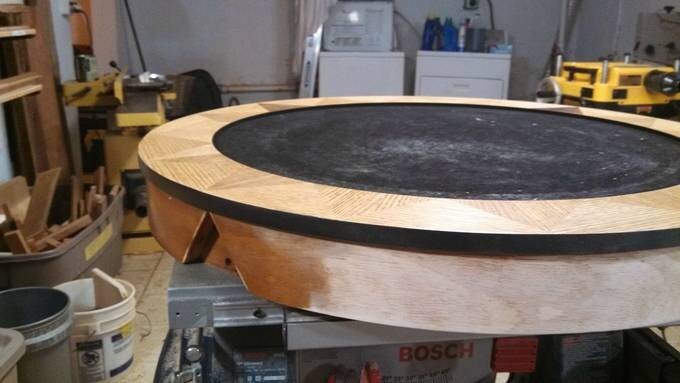
A close-up of the results of all this polishing. Wood texture and color stand out much better now 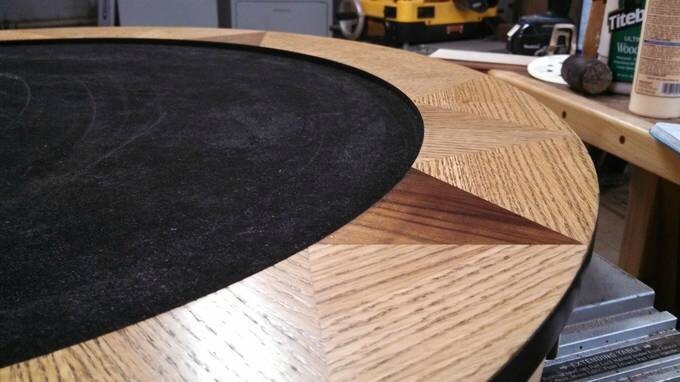
Reassembly time. Mostly original hardware used. 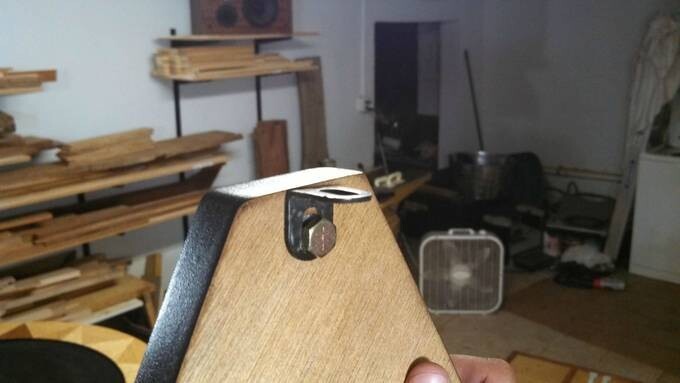
The table has legs again 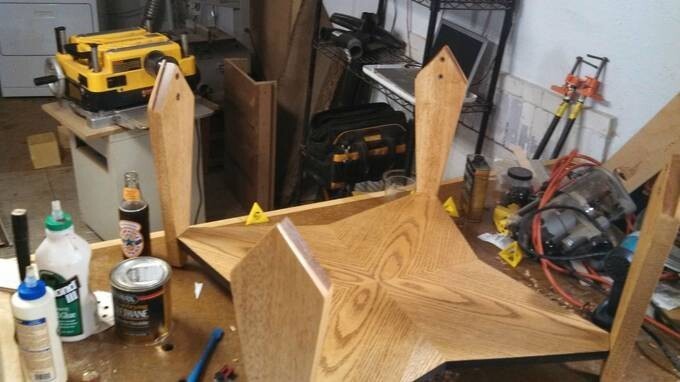
Well, it's time to put the compasses back in place. 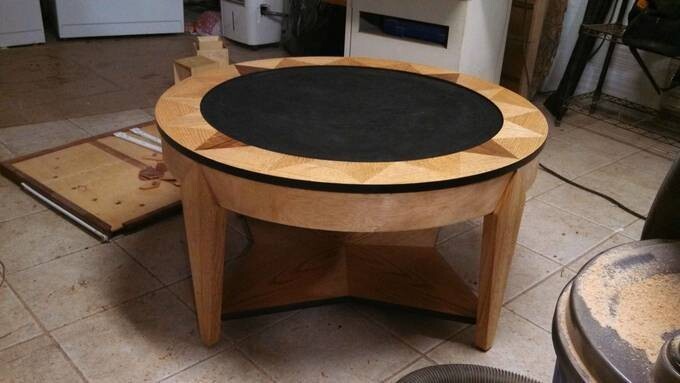
A little strong glue is all it takes 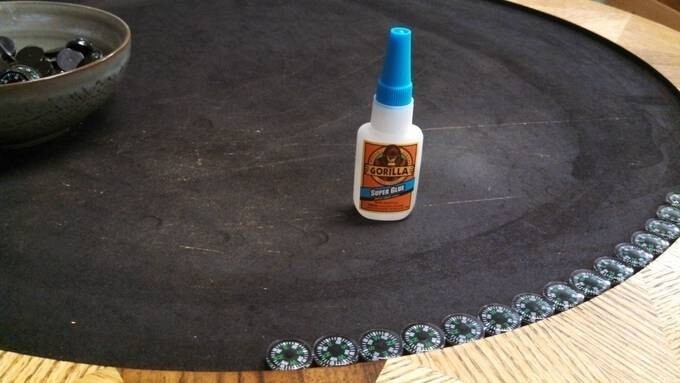
The work is painstaking, here you can’t do without a couple of bottles of beer or a glass of whiskey 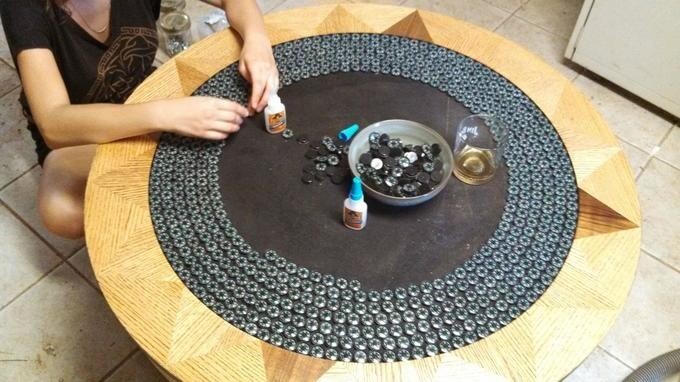
Almost done! I wonder how many glasses of whiskey were drunk? 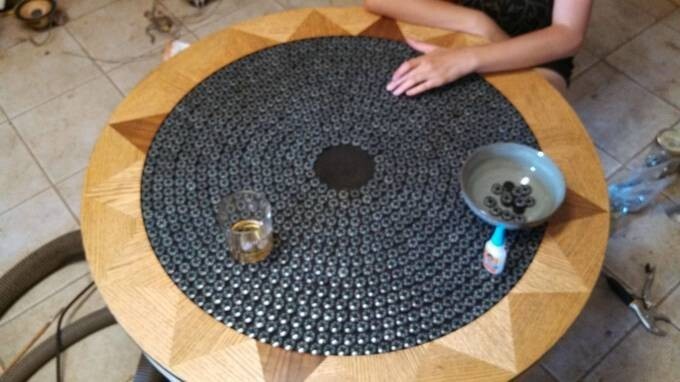
Now it's definitely ready 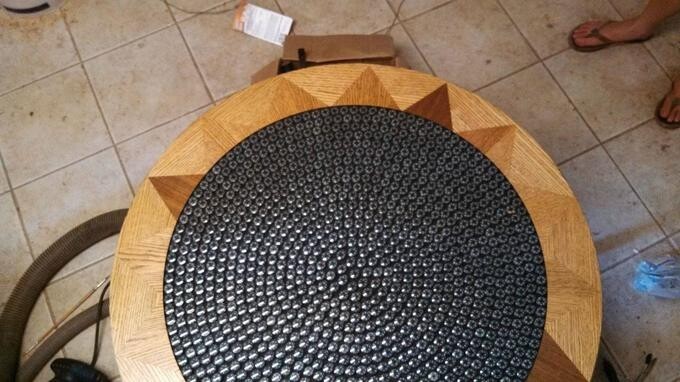
It's time to move on to coasters. But they will not be simple, but special 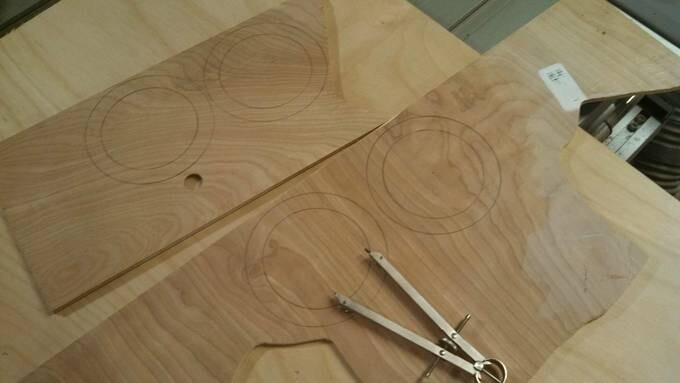
The master cut several wooden circles 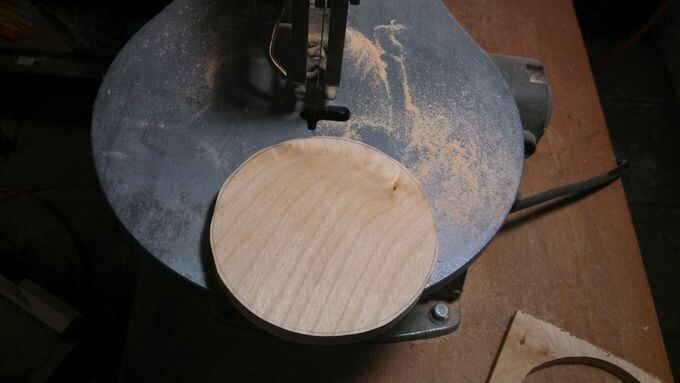
He assembled a fixture for the milling table 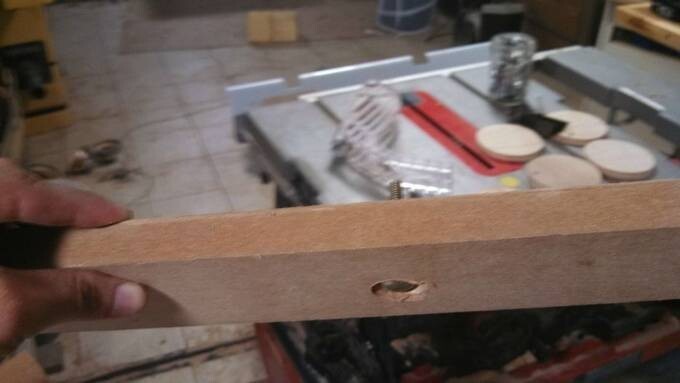
It allowed him to make the circles much more precise and even. 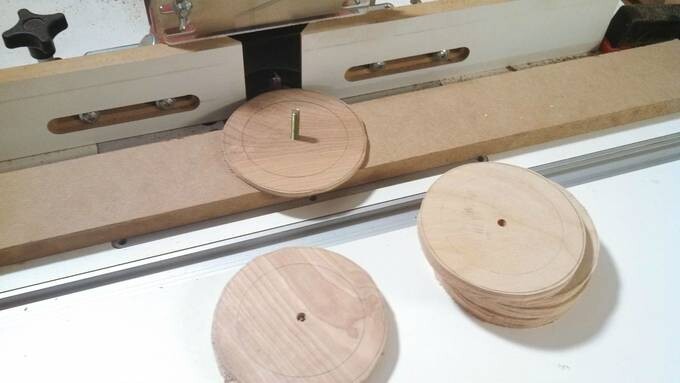
Then he took a thinner layer of plywood, cut circles of the same diameter and made rings out of them. 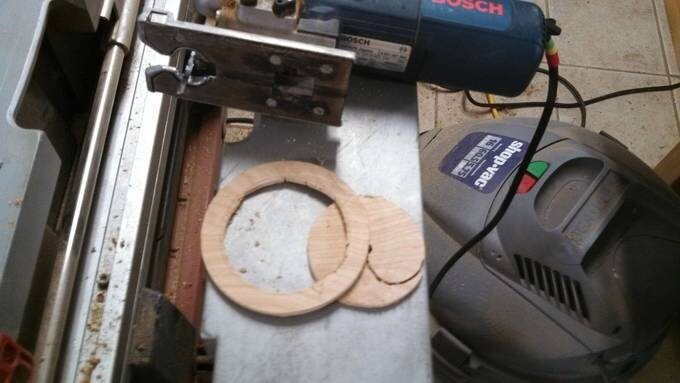
I glued a ring on each circle 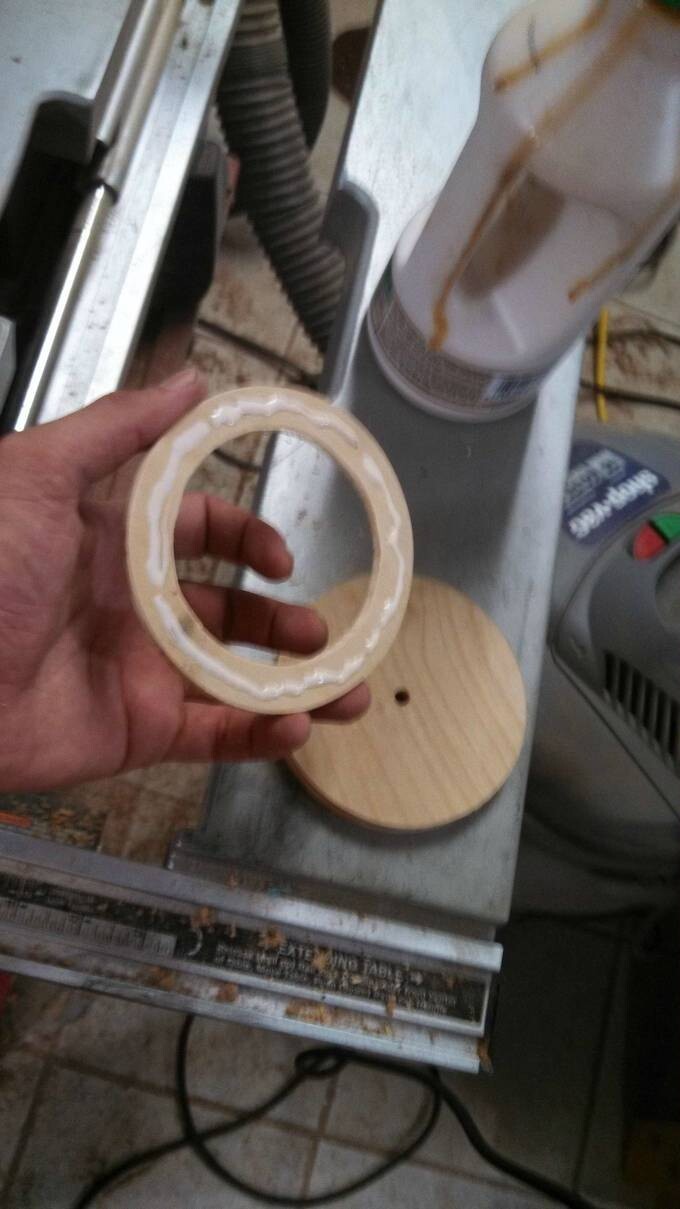
It's time to use the tools again 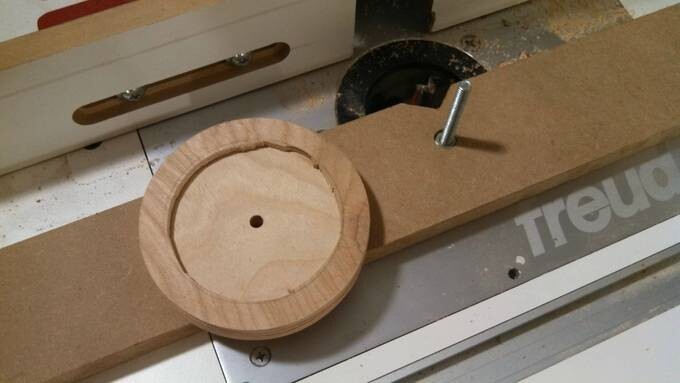
This looks so much better! 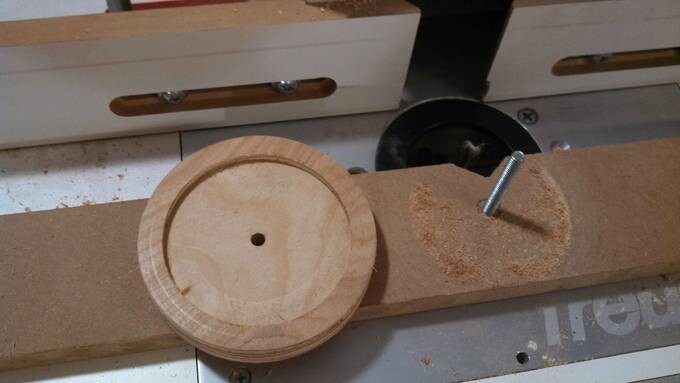
Further holes were drilled in the stands for small magnets. Why magnets? See you soon! 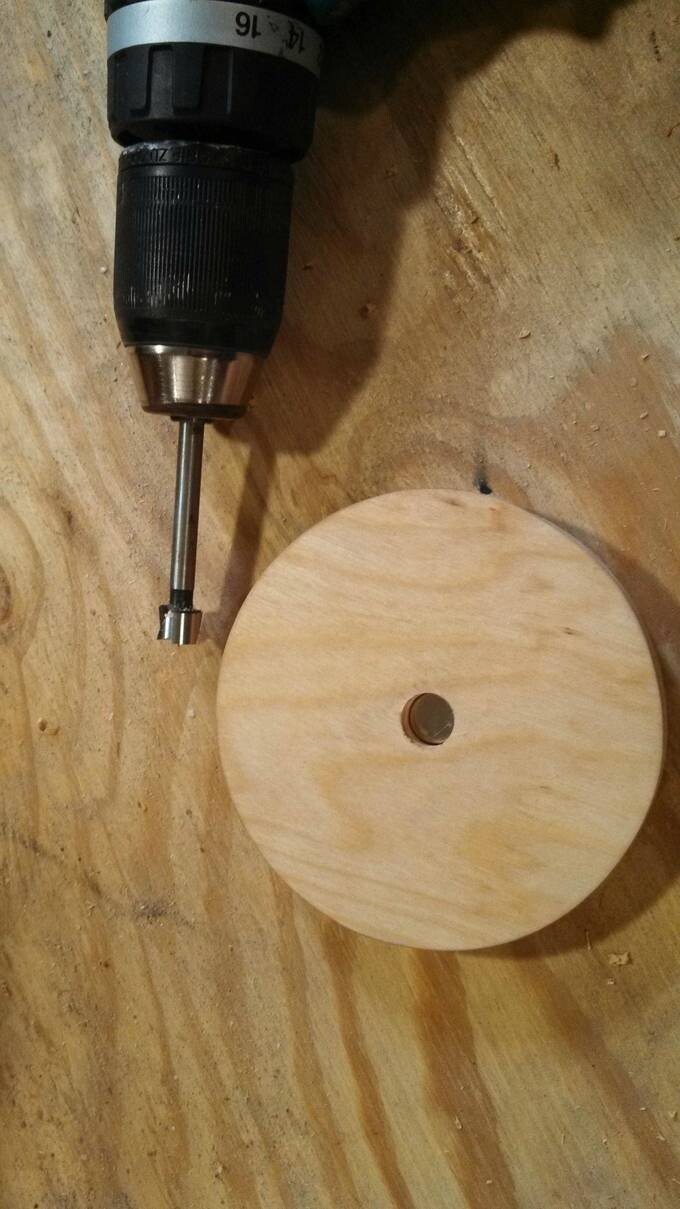
With a glass top, the table sparkled with new colors! 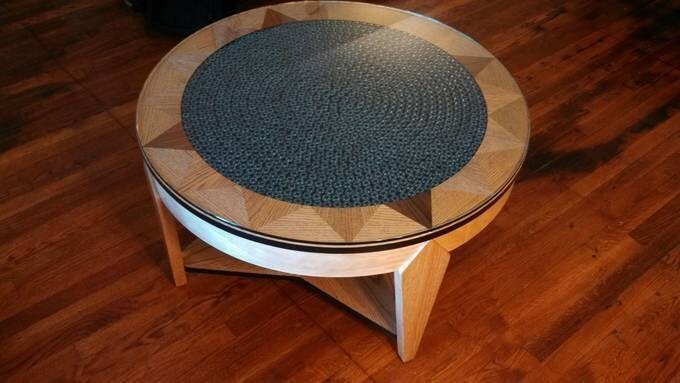
And this is what the finished stands look like 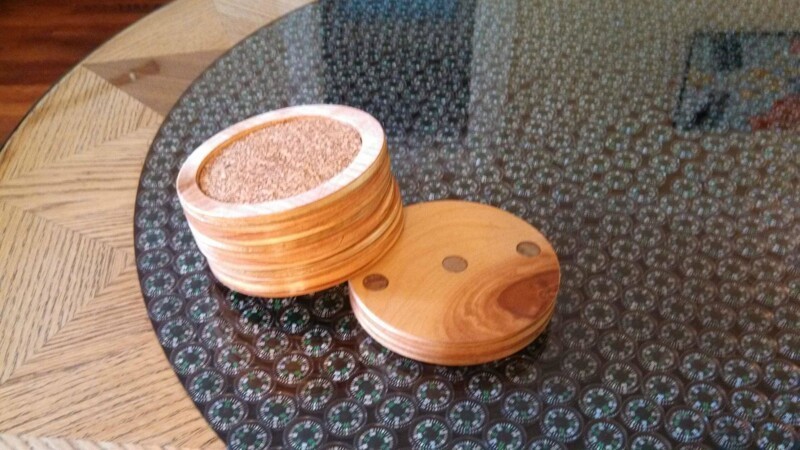
And bingo! That's how they work! Great idea and great execution