Do it yourself: building a cottage (105 photos)
Two craftsmen decided to build a cottage with their own hands. And they offer to look at photographs taken from the first days of construction.

They planned to build such a house. there are 2 guys - me and my brother, 2.4 million money, 4 months. for construction.
sketch design of the 1st floor. There is a plot of 12 acres in Medovka with an old wooden house. We planned for half a year, calculated the estimate and made calculations for the entire structure.

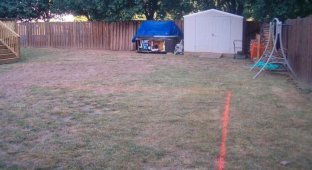
we dig a trench under a strip foundation 40 wide and 80 cm deep. The dimensions of the building are 20.4 m by 10.8 m. The volume of excavated soil is 25 cubic meters. Made it in 4 days. We dug in May with 2 shovels. plus a day for marking and geodesy.
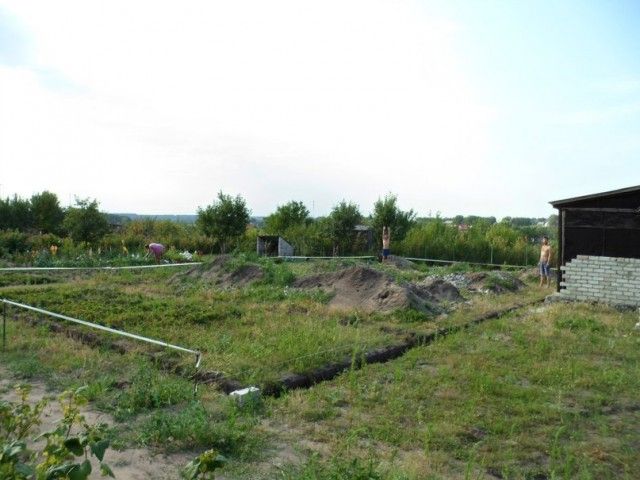
we dig a trench under a strip foundation 40 wide and 80 cm deep. The dimensions of the building are 20.4 m by 10.8 m. The volume of excavated soil is 25 cubic meters. Made it in 4 days. We dug in May with 2 shovels. plus a day for marking and geodesy.
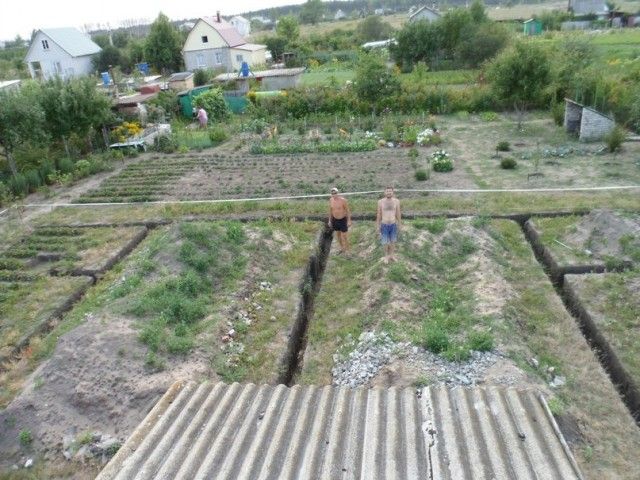
reinforcement diagram. the reinforcement was laid in 2 rows: the bottom one in 3 cores, the top one in 2 vertical rods were placed every 1 meter. Since the house was a 2-story house, the corners were reinforced with piles and the reinforcement was knitted with an overlap. it took 5 kg of knitting wire.
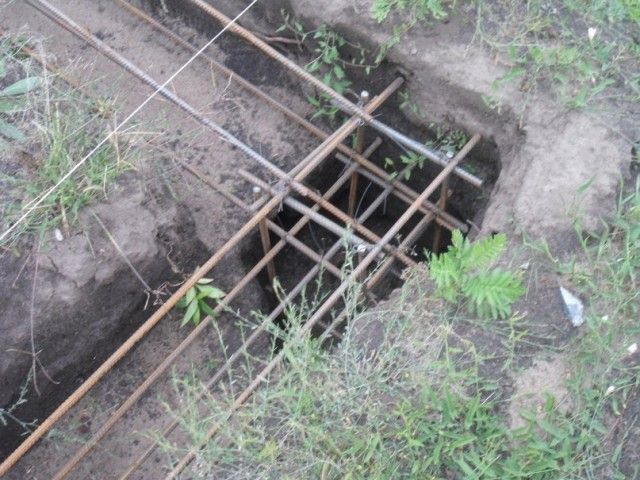
We ordered concrete, grade 150, fraction 5-20. price 3000 per cube with delivery. We called many companies, chose the best one, payment upon delivery.

2 hours of continuous rowing with shovels and concrete in a ditch. The guys were kind and they had additional gutters, which made our work easier. in total we took 25 cubic meters in a day. finished at 3 o'clock in the afternoon. They paid 75,000 rubles for concrete. the foundation cost 105,050 rubles. Hired workers will make do without the material: design and estimate 10% of the cost of the material, surveyor 5,000 rubles. earthworks 600 rub. cube concrete with viscous reinforcement 2,000 rub. per cubic meter total: 225,000 rub. Since my brother and I have experience in construction, we will build the entire house ourselves and will only hire transport.

While the concrete was cooling, a grounding loop was immediately laid. triangular trench with sides 3 meters and depth 70 cm. corners 50x50 and 3 m long are driven into the corners, welded together with a strip

we bring bricks. for the plinth you need about 5,300, the rest will go to pipes and poles with the import costing 50,100 rubles, it makes no sense to look somewhere cheaper because we have one plant

While we are delivering bricks, we have ordered a drilling rig. the well came out cheap because the water in the honey pot is very close 20 m. the cost with a filter is exactly 30,000

We also purchased some additional tools. welding machine 190A 7,100 mask 500, submersible vibration pump with hoses 2,000 and polyethylene film 25 m. needed to separate brick from concrete. everything according to science. the current total cost is 189,800

They carried it out for 1.5 days, but realistically in a day. Our sister's husband helped us in this matter. For which I thank him very much. In the morning we ordered a solution of brand 100 1.5 cubic meters

At the same time, we welded the grounding loop and buried it. We quickly built a box for the solution from improvised materials. don’t be lazy, strengthen it adequately so as not to collect all the solution in the area later)))

1 delivery of the solution was unsuccessful. We ordered from private sellers and were very dissatisfied with the quality of the product. with the delivery of 1.5 cubic meters it cost 4,900; they did not complete the entire volume planned for the day because I had to throw out about 0.5 cubic meters.

results of 2 days of laying. 5,300 can actually be laid by two people in 3 days. if you know how to do it, if the material is good, and the weather doesn’t let you down. You will need about 4.5 cubic meters of solution. We plan to reach the zero level the day after tomorrow and start laying communications

the zero cycle is completed. we buy a primer or bitumen mastic and go through all the internal walls with it. (hydraulic cutoff) now we proceed to the sewerage system

It took 6,300 for all the pipes; with proper calculation, assembling them is not difficult. To connect PVC pipes, we buy a special lubricant.

the slope must be at least 3 mm per 1 meter. The landscape of our site helped us with this and we didn’t have to bury them too much. all pipes are laid on a sand cushion (bed); we placed the necks of the pipes about 6 cm from the floor

We dig a hole for sewer rings. we decided to take 1.5 m in diameter. We will bury 3 rings. Now we order the soil and fill it up 15 cm short of the top. We leave that much for the sand cushion, water supply and rough screed.

So, let's move on to the drainage hole. Having used the terrain, there is no need to give the pipes more slope. We do it conscientiously so that we never call the sewer trucks, we dig a big hole. we bury 3 rings with a diameter of 1.5 meters and a height of 1 meter. with the lid, delivery and hatch it cost 14,200.

dug for 2 days. the soil was disgusting, almost the entire depth was loam. you need to dig 3.30 m deep. In photo 2. 60 the hellish hole came out.

There are 2 ways to dig drain holes by hand. 1. when you plumb the entire depth of the hole and then install the rings. there is a minus. Not all rings correspond to their sizes, which is what happened with us. the dispatcher (who neither....I don’t know) gave us the wrong dimensions, which added 2.5 hours of work to us. The point is this. They dug for an EXTERNAL diameter of 1.5 meters, but in fact the diameter came out to 1.7 meters. and this means that the rings will not fit there. Method 2 is used here, when you dig 1 meter. mount 1 ring on top of it, place it three times, lower into the inside of the hole and begin to dig them up. under their own weight they will go down. The advantage is that you do not remove excess soil. The downside is that it’s wildly inconvenient and slow and requires maximum labor. Plus, you will then have to mount the hatch cover manually or call in small mechanization, for which you will have to pay. so 1 is optimal
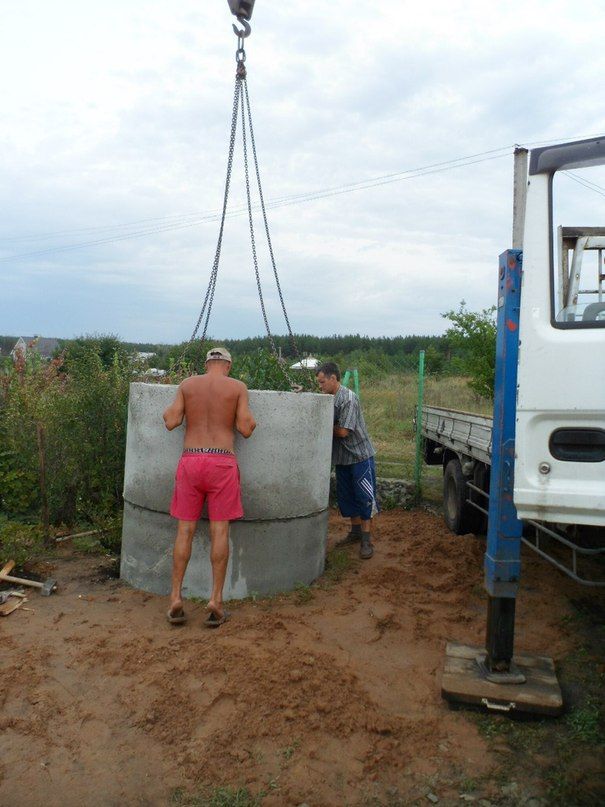
Please note that we mounted the 2nd ring on bricks. This is such a clever move to increase the efficiency of the drainage pit so that sewage is absorbed into the soil not only through the bottom. some people also make pits (holes in the lower ring) to increase the efficiency of the pit, but there is a minus in this method. this weakens the ring itself. because we live in Russia where almost everything is done on the *****. reliability is the most important thing. There were cases where the rings simply broke in the pit. this indicates that they were poorly reinforced at the factory, and it is almost impossible to check this on site

the rings were installed. Let's start leveling the soil. it will take a lot of it. In addition to the fact that we removed 25 cubic meters from the foundation, 5 cubic meters from the drainage pit and a cube from the ground loop, we also need 45 cubic meters of soil. it weighs about 50 tons under a shovel. 5 trucks of soil cost us 14,300 + forgot to add 3 deliveries of mortar for 4,800 each, in total with rings, soil and mortar it came out to 43,400 in total our current consumption is 241,400

the drainage hole is completed. In order for all the rings to work fully, the drain pipe must go up the ring, so the rings had to be planted another 0.5 m into the ground. We’ll install the pipe later, because equipment will be walking around the site and could crush the pipe.

We delivered polystyrene foam and a profile for the screed. according to the receipts it came out: 8,400 polystyrene foam and 1,800 profile and 420 metal scissors. total 10,720 +5,00 for extra. sand and transport. our expenses are only 257,200

We delivered polystyrene foam and a profile for the screed. according to the receipts it came out: 8,400 polystyrene foam and 1,800 profile and 420 metal scissors. total 10,720 +5,00 for extra. sand and transport. our expenses are only 257,200 and this mighty green mop. homemade device. but very useful. it will be useful to stretch the tie. I'll show you how later. insulate floors: our method is the simplest. no ventilation or additional insulation options are required. minus one. An unreal amount of soil was used, about 110 tons!!!!!!Our site does not allow the use of machinery, so we carried everything out manually. it's incredibly difficult. Method 2. strengthen the foundation and install slabs. Reliably, there will be no problems with all methods of insulation, but there is a minus of money; throw about 100 thousand more for such an area. 3 way. light overlap. take a larger beam or rafter and overlap it. costs minimal money. You don’t need so much soil, but it’s not reliable, ventilation and bioprotection are needed very seriously. For such areas it is not suitable. There is a technology for pouring concrete onto a sheet profile, but almost no one uses it. Most likely they just haven’t mastered it yet. but I’ll try to use this technology when I cast a balcony slab. The interesting thing is that with the help of profile ribs, an excellent design is obtained with minimal material costs, minimal weight and high load-bearing capacity.

we draw water around the house. all the pipes (cold water, hot water, heating) the guys were competent and gave us a discount, the pipes were bought from German and Czech manufacturers. I don’t remember from memory, I’ll tell you exactly later. it turned out exactly 20,000 + 2,700 welding feed cold (according to the advice) they made 32 diameters. DHW supply and return 25 diameter. It is not necessary to make a return line, but take into account the length of the pipes from the boiler. she will be needed. otherwise, when you open the hot water tap, you will have to wait a long time for it to flow. and I will always have it at the tap.

Serve cold (according to advice) made 32 diameters. DHW supply and return 25 diameter. It is not necessary to make a return line, but take into account the length of the pipes from the boiler. she will be needed. otherwise, when you open the hot water tap, you will have to wait a long time for it to flow. and I will always have it at the tap.

unsolder the heating. stripping pipe. what does it mean. a pipe reinforced with a layer of metal that needs to be peeled off for soldering. For this purpose there is such a gadget that Maxim has in his hands.

the water was boiled. We plan to finish heating tomorrow. Tomorrow the material for the walls will finally arrive. We think we'll fill the screed on Tuesday and start working on the box.

install a profile. it will serve as a beacon for us when we pour the screed. The solution for the profile needs to be more abrupt.

let's continue. This is what the water intake point on the 1st floor in the boiler room looks like. I had to tinker with the heating. We will hide all heating pipes in the walls. so that later there are no problems with connecting the batteries, sign all the pipes and where they come from

We import gossilicate for the box. According to the estimate, 145 cubic meters are needed. this is 4 trucks. Because the facade will be covered with textured plaster, you need to take a good gas. found the optimal supplier at an affordable price. I’ll tell you more: the weather was disgusting. but there is nothing to do. Liskinsky bought silicate. There are a lot of positive reviews about it, especially since there are only 2 manufacturers of gas silicate, which are suitable in quality for laying on glue (but more on that later.) LGS is produced on German Wehrhahn equipment and the quality is excellent. For comparison: you can buy locally made shit, it will cost 2,400 per cubic meter. but you will lose on plaster on 2 sides, mortar and thermal conductivity. There is another one - also a good gas car, but it is expensive. 3,300 without delivery. The delivery of the LGS cost us 3,050 + the manipulator 1,500 per hour. We unloaded it in 3 hours with just two of us. the total cube to the object was 3180. The truck brought 38 88 cubes. in pallets - 27 pieces. The manipulator turned out to be very good, which is not unimportant.

pour the screed. We order sand concrete M150, we ordered it there, according to calculations, 10 cubic meters should be enough. This is where that unsightly green mop comes in handy. I believe this is the best tool. tested by experience. advice. strengthen the profile better with the solution, otherwise it will be knocked down by the jet or you yourself will knock it down in your haste. and without guides it is difficult to fill a more or less normal screed, especially in such areas. and stock up on boots)))

started at 10 am, at 4 pm the screed is ready, deviations from the horizon are within tolerance. everything will be finally leveled with self-leveling floors. They paid 29,100 for the screed. Tomorrow we will start working on the box. zero is completely finished. the hardest part is over. Considering that between us we have 15 years of experience, we plan to finish the box in a month.

let's get to the box. 1 row must be passed to the solution. I’ll explain why row 1 is placed on the mortar: the glue seam is from 2 to 5 mm. and it will not be possible to somehow influence the block. Thus, row 1 is the last opportunity to correct all the shortcomings of the zero level, namely the elevation marks. in short, so that your walls are all even. + on the 1st row you once again draw out all the diagonals and dimensions and this is the last opportunity to make the house even. if you suddenly mess up the dimensions somewhere on the base.

try the glue. There are many different ways to apply glue. This means there are several tools for spreading glue: an ordinary spatula, a special carriage for glue and a glue ladle. We tried everything except the carriage. (I will say that the structure of the carriage and its abilities are not much different from an ordinary ladle.) I just took everything with a spatula, threw it on and smeared it. The bucket is not exactly the right size, namely its edges are slightly smaller than the size of the gas and its capacity is very good. small. Considering that the glue is very sticky crap, it doesn’t work very effectively because... Most of the glue remains in it. the carriage will have the same problem. so I won’t even test it. everything will be built in the old-fashioned way)))))))

We do everything according to science. An ordinary Kamensk hammer is not very suitable for laying such gas. it has a very large surface area. (dimensions 400x600x250 mm, weight 42 kg. It’s crazy how heavy. Compared to the regular size, the gas weighs 27 kg.)

Row 1 laid out. Now we are stupidly building walls. There is no point in messing with the layout (for masons) because... through 4 rows of windows, then block the doors. and you are unlikely to get into the layout, no matter how good your gas silicate is.

We build walls as far as the scaffolding we can get. back view. At first I was shocked by such sizes. but then I got used to it. let's move on.

I’ll tell you a little about connecting heating radiators. It was decided that we would not run pipes along the walls. purely because of aesthetics. I don’t want to glue wallpaper behind pipes) so I’ll tell you. therefore, a fine was immediately laid in the wall. then 2 pipes will come out of the wall carefully. Aim carefully, the pipes should come out under the window. We had already marked the windows on the ground in advance. when the heating was turned on.

I continue my story. end of the house. 1st floor by cost. GAZ truck + metal for floors + lumber + fasteners for roof + boiler piping + gate = 666,700

I'll tell you a little about the overlap. laid a corner 100x100x7 mm and primed it into the wall. I had to hide the corner this way because the walls will not be plastered, the finishing will begin immediately.

something like this))))) tomorrow we are going to pick up the sticks on the roof.

the house is growing)

Just for fun, we decided to look at the walls as a rule and it turned out that our hands were growing more or less from the right place. deviation at 3 meters is no more than 5 mm.

brought half of the lumber. We will use copper sulfate with sodium dichromate as fire-bioprotection. a proven old-fashioned remedy and a cheap one at that.
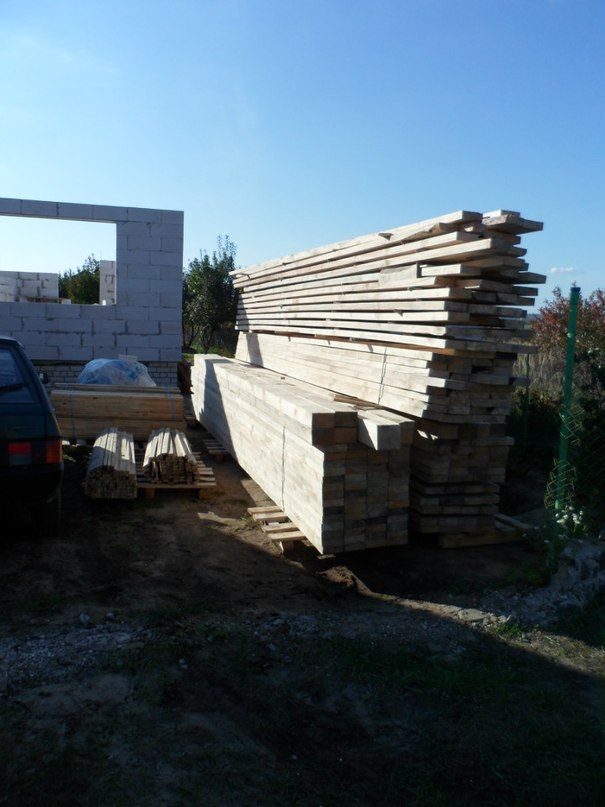
So. They brought part of the forest. rafters, counter lathing, mauerlats and support beams. All lumber must be processed. We use a proven but extremely toxic mixture. I won’t reveal the main secret and proportions. very good dear info))))

1st floor ready

lay out the ceiling rafters. each end of the rafters was wrapped with roofing felt

We will fasten it with 50 cm studs. To do this, we drill the wood with a pen, then we go through another 20 cm with a hammer drill. We simply hammer in the remaining length of the stud. gas silicate is a malleable material.

hastily folded the stringers. The roof slope was 12 degrees. Please note that the slope cannot be less than 5 degrees, and if you decide to cover it with tiles, then at least 22 degrees.

the rafter system is completed. It took almost a cube of rafters to cover the roof. It’s too early to install the sheathing and counter-sheathing. because The pipe has not yet been folded. Tomorrow we will make a pipe and install steam-hydro insulation. more about her later

In the meantime, we started assembling a water supply with a water cannon pump 60/72 60 cm. Its length and 7200 liters this pump can pump in an hour. the cost of the fun is 9,000 rubles. A check valve is installed immediately after the pump. and then the pipe is screwed onto the fitting

water supply system from a well. lowered the pump into the well. then there is a 5-way fitting, a flexible hose is screwed into it onto the hydraulic accumulator (blue tank), pressure switch, pressure gauge and then into the line.

A support beam is attached under the rafters.

installing a window. nothing complicated. First, remove the glazing beads with a wooden block. remove the sash. only the frame remains. We make several holes in it for fasteners and insert the frame into the window opening. I apologize for the unprofessional tool, it was just too late and I really wanted to do the windows))) so. covered the roof with utafol. Now you can install windows. We bought these windows. with delivery of 13 windows and 2 doors the cost was 87,900

We level the frame and secure it with anchors, then foam it and wait about an hour. then we insert the glass, put on the fittings and that’s it.

the window installation itself. takes 30 minutes. While the foam was cooling, they installed the front door. but about the door later. and I didn’t take a photo.

We quickly folded the bathroom partition. In fact, all that remains is to hang the batteries, the light has already been installed. and you can live. slowly work on finishing.

so, we poured the lintel under the garage door, mixed the concrete by hand, about 0.3 cubic meters

If possible, we do the finishing. The walls are fairly even and there is no need to particularly level them. scrape the walls and apply putty"

Brick walls need to be plastered. We put up beacons and plaster.
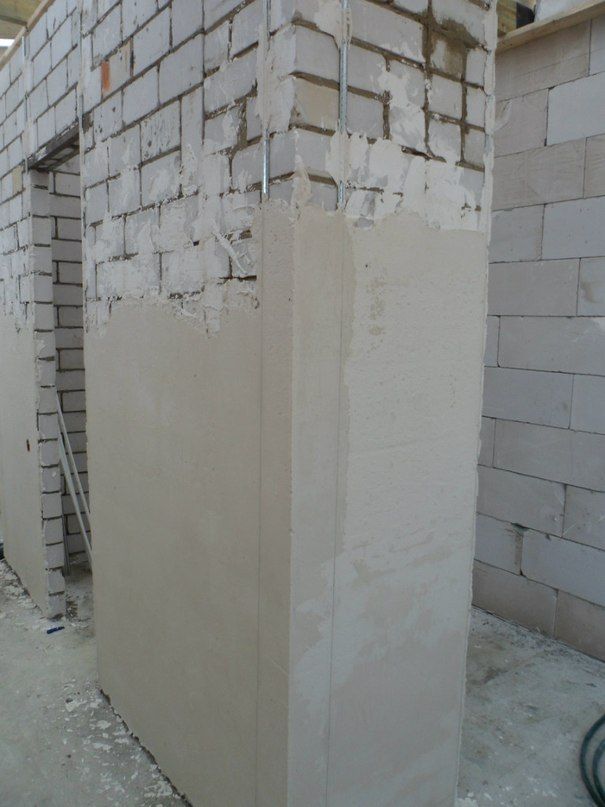
we are working on the ceiling. We twist the sheathing in increments of 30 cm. This is enough because the sheathing will not take any load on itself other than cotton wool. We shoot the isospan B steam membrane; it is necessary so that when there is a temperature difference, condensation does not settle on the cotton wool.

set min. cotton wool on the ceiling. use protective equipment. otherwise you'll itch later

roofing system section

forgot to post it. This is what the roof looks like from above. All that remains is to fasten the sheathing and metal.

Installed mounting rings. and put 1 layer of putty, actually you need to lay the wiring first and then putty. but time is running out

boiler protherm dlo 40. max. power 32 kW. This thing costs 53,000 with delivery. You can't just get it. because It has been discontinued, but many people recommend it as a good boiler. what a heavy fucker. according to the passport 307 kg. a 40 cm concrete pad is poured underneath it. We begin to connect.

The boiler connection is made with a pipe with a diameter of 2 inches. The pipes are very serious and only two people need to solder them. We screw the combined coupling into the boiler, having previously lubricated it with paste for threaded connections. it turned with difficulty. broke 2 gas keys)))

This is what the house looks like from the garden. Now we can tear down the old house because it’s time to build an entrance in its place.

finally figured out the installation of the fucking gate. Regarding the installation, we were immediately deceived by the height of the lintel. that's why they invented it.

the actual gate fastening

ceiling of the 1st floor. the rafters are also wrapped with roofing felt at the ends.

the concrete has hardened, the pillars have been stacked. Tomorrow we will put up the formwork and pour the floor of the balcony. The casting will be unusual. using Oryol technology
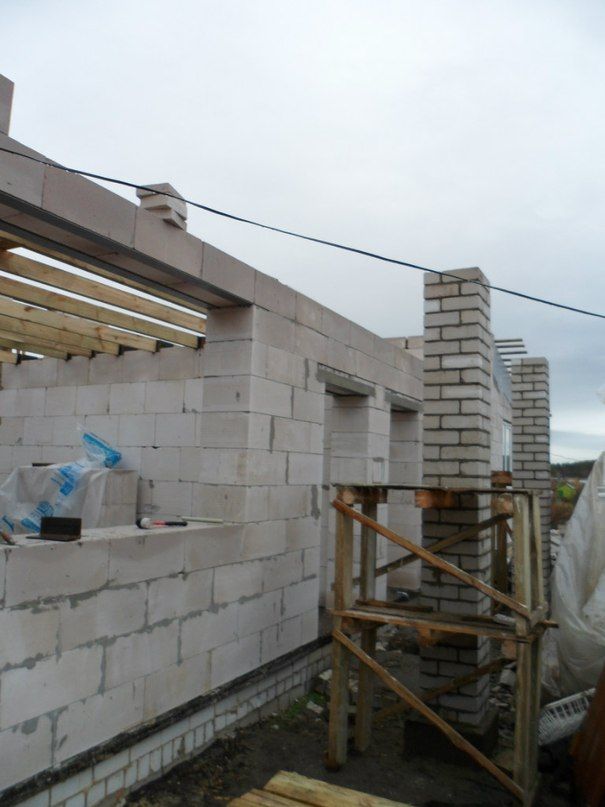
I apologize for the order of the phot))))) so. They tore down part of the old house. he is preventing us from building the entrance group. pour concrete under the pillars. the procedure is the same. we dig a hole, knit reinforcement and pour it. nothing complicated.

So. I’ll tell you about “Oryol” casting; we first encountered this method in Oryol on a business trip. its essence is that instead of assembling formwork from plywood boards and clamps, a profile is used. This thing is quite durable and is capable of carrying heavy loads with minimal support.
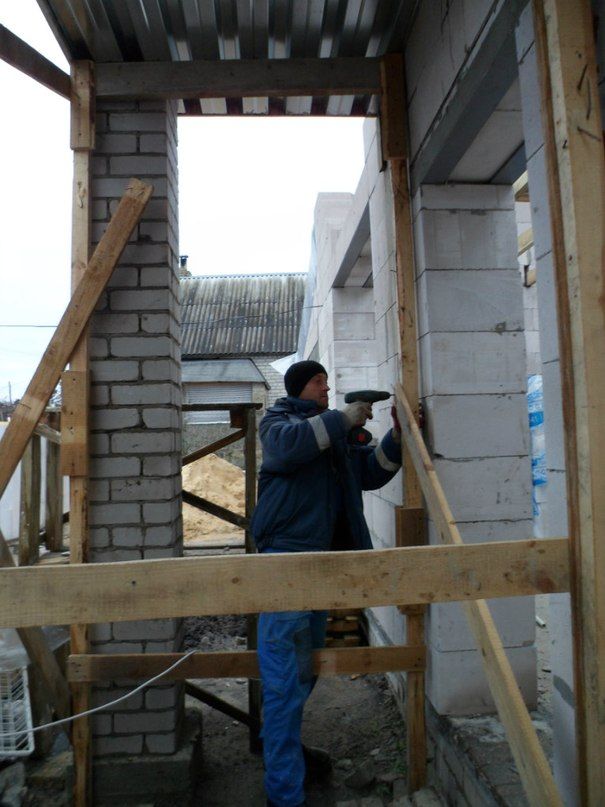
one more I miss attention from others. Hug me, who cares, concrete consumption is minimal. This reduces the weight and stress on the supports.

This is what the balcony slab looks like from below. The price of such a product is only 4,000 for labor costs of 2 days. if you assemble conventional formwork it will take at least 4 days

facade is ready)))))

In general, the collection group is almost ready.

For the experts, in the meantime, we supply electricity to the house. The power cable was taken with reserve. AVVGng 4x25 industrial scale)))) we sleeve the cable and bury it in the trench. According to science, we fill it with sand and lay down alarm tape.

the second floor is finished. let's start with the fronts
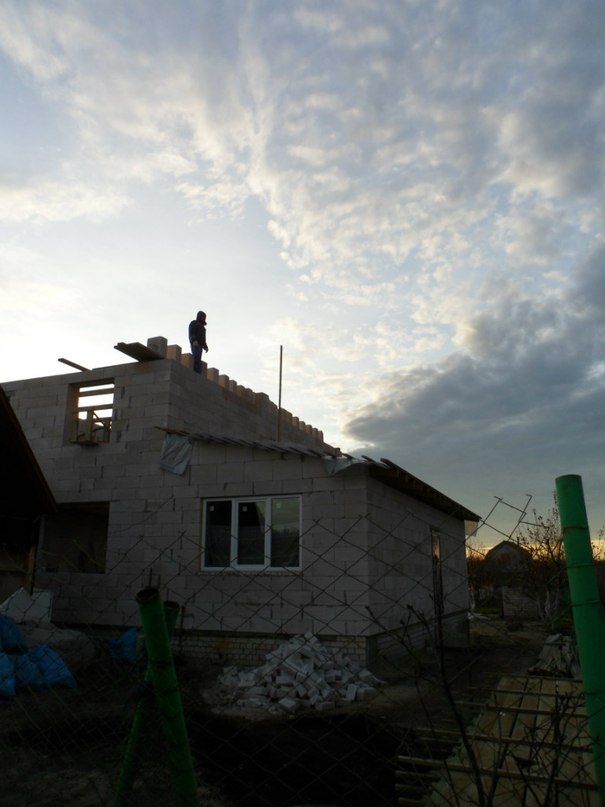
We put the pole, we tighten the cords, we do the trimming.
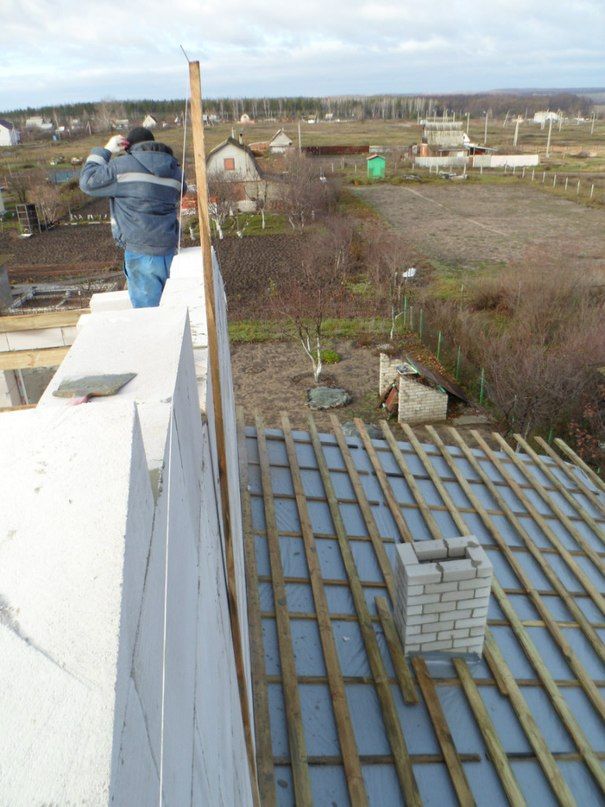
We put the pole, we tighten the cords, we do the trimming.

This is what the pipe looks like; I won’t explain its purpose.

the gables are finished. The entrance pillars are finished. The windows are standing, the batteries are unsoldered.

The box was finished, the windows were installed and the pipes from the roof were not pulled out. postponed to next season

They decided to make the roof overhang 50 cm because the length of the slope was 6 40 and the length of the rafters was only 6 00, the overhang had to be increased. The rafters were placed every 50 cm.

shot the film. This time we tried isospan. the film is much thicker and stronger than megaflex.

We bought the doors so as not to suffer)))) meter long. any cabinet with a piano will pass)))))))

So it goes. from the moment we started, it took us exactly 4 months to reach this state.)))) and 2 million money

It’s impossible to photograph the entire facade, but still. I need to tear down the old house, but I don’t have the time or energy))))

This is the view from the 2nd floor. it was specially made lower than 1st for comfort. unsolder the batteries

again, we hide all communications in the floors and walls

the attic space itself. They haven't installed spacers on the rafters yet. there is material, but you need to flood the house to dry it, and for this you need to lay cotton wool in the attic

the season is coming to an end, a lot has been accomplished, a lot remains to be done, but that’s for next spring.
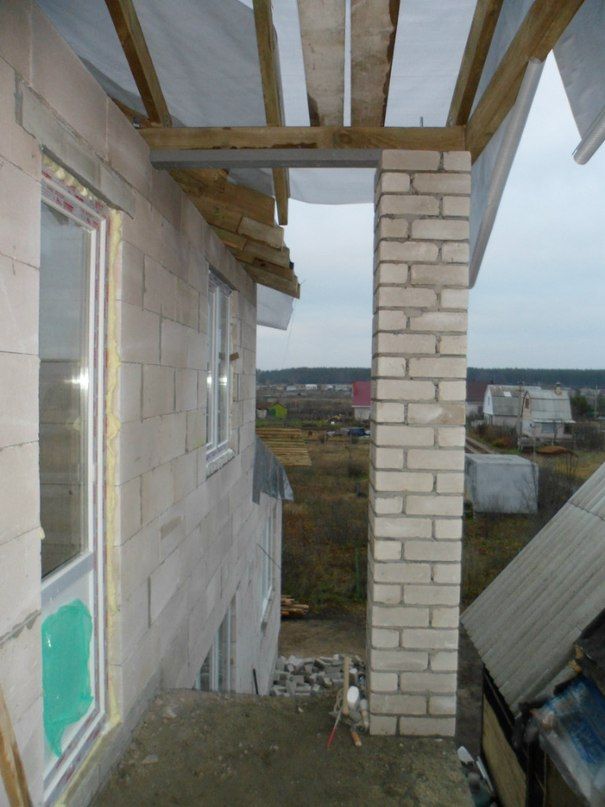
We've slatted everything and are installing scaffolding to install the roof.

We started the heating, for unknown reasons, 1 pump could not cope, we had to add a second one. The launch was successful, but since the boiler is solid fuel and the area is huge, the boiler eats up wood so much that at first you will have to stand next to it as a fireman. burn a lot of things, from pallets to an old house.

they threw temporary construction on pumps and sockets in each apartment to a minimum

we finish the sheathing. soon there will be metal

The metal has finally arrived on the roof. The area turned out to be 329 sq.m. with delivery with screws and packaging, the metal came out to 103,000. metal Monterry Norman

