DIY acoustic shelf (17 photos)
A couple of years ago I decided to install good speakers in my "Six", which my dad passed on to me. Before that, there were homemade plywood speakers, the sound quality of which was like the cheapest plastic Genius. Naturally, this did not suit me. I picked up some good JBL GTO-938 ovals. But it turned out that there was nowhere to put them. There were no holes for them in the factory shelf, and I did not want to damage the metal.

I decided to buy podiums.
After walking around the stores, I did not find anything suitable. And the prices were frankly speaking abnormal, the cheapest and most indecent crap, clearly assembled by prisoners or Tajiks, cost 1000 rubles.
I decided to make a shelf with podiums myself.
I don't have any detailed photos of the process, since I didn't have any goals to post them anywhere. I'll post what I found on my phone. I took photos to show my friends that I made it myself, and didn't buy it.
I decided to make it from chipboard. Since my old broken baby crib was lying in the garage, I was provided with free material of 17 mm thickness.
Having removed the original hardboard back shelf, I outlined the contour, taking into account that the chipboard is thicker, so it should be smaller, since the cabin is going to narrow. I cut out the shelf with a jigsaw, and all the blanks for the podiums.
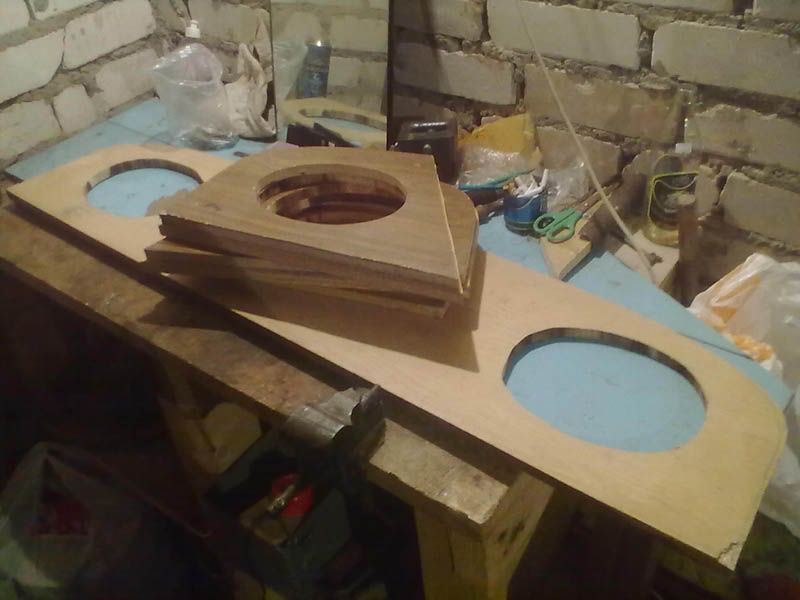


To give a small angle, I put a block under it

I fastened the whole structure with self-tapping screws. The edges were processed with a rasp and coarse sandpaper
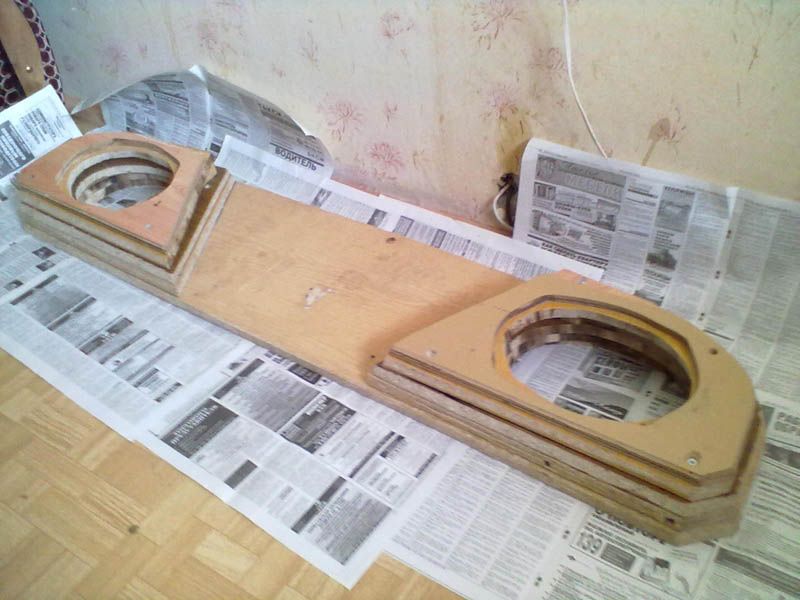
Filled the cavities with polyurethane foam

Cut off the excess, sand. Soak in two layers of epoxy glue for strength.
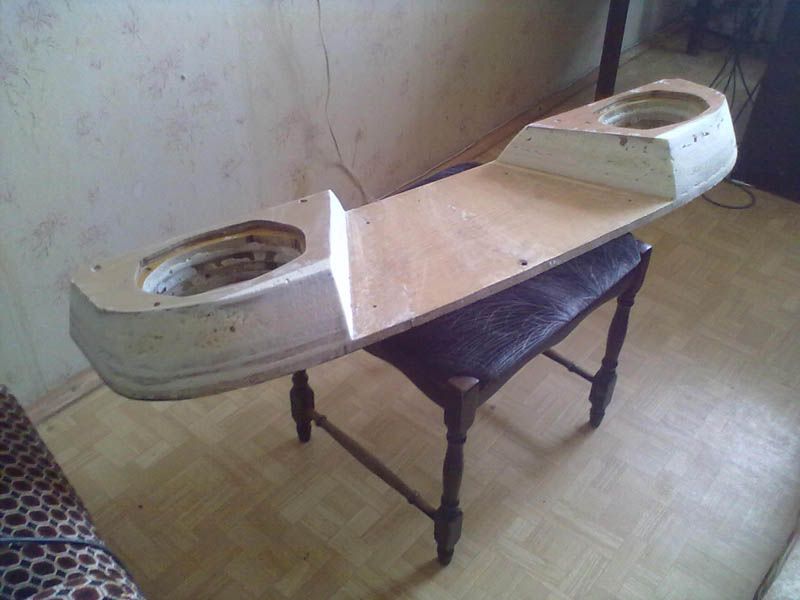
we prime it in a dark color so that it doesn’t show through and the ultraviolet light doesn’t destroy the foam

We glue it with acoustic carpet and put in ovals. By the way, carpet is very difficult to drill and perforate. It’s better to burn holes with a soldering iron, hot nail or cigarette.. ) We insert ovals, pull the ends of the wires through pre-prepared holes

We put it all together. We solder terminal blocks to the ends of the wires
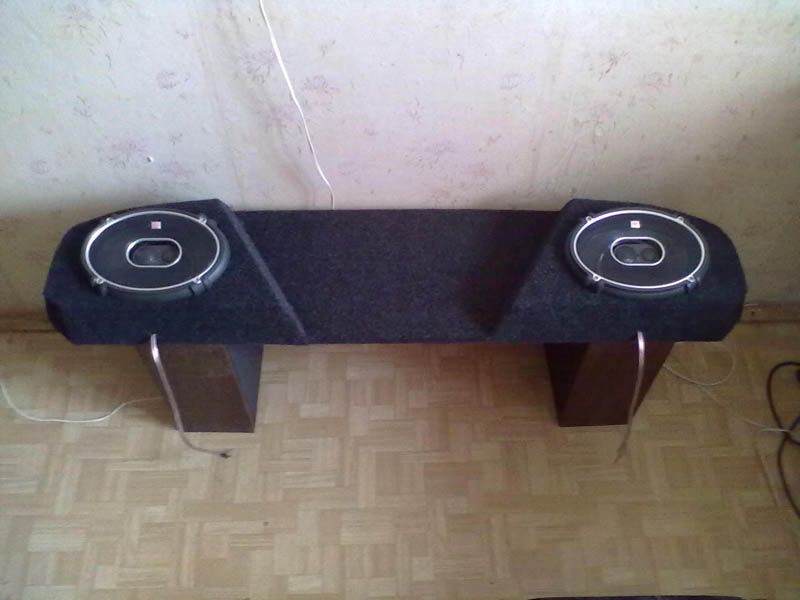
We attach the shelf to the car with furniture bolts, paint the caps to match the color of the carpet. To prevent anything from rattling between the shelf with podiums and the metal shelf, we lay a layer of the same remaining carpet.
By the way, the speakers (JBL GTO-938) are very bassy, you can google the characteristics. The original holes for small speakers in the metal shelf of the body act as a phase inverter. And the trunk acts as a kind of subwoofer. As a result, the sound turned out to be very good!
Nothing farts or rattles, believe me.

Further, just photos of the installed shelf from different angles. It wasn't really possible to take a photo from the street, I caught solid glare


We calculate the amount spent based on prices from 2 years ago (I don't think they've changed much).
Carpet ~200r
Epoxy glue ~70r
Titan glue (for gluing carpets) ~60r
Mounting foam ~80r
Primer ~100r
Everything else was free in the garage
Total came to a little over 500r

Source: vaz-2106.ru

